Uncategorized

How To Replace a Flush Valve

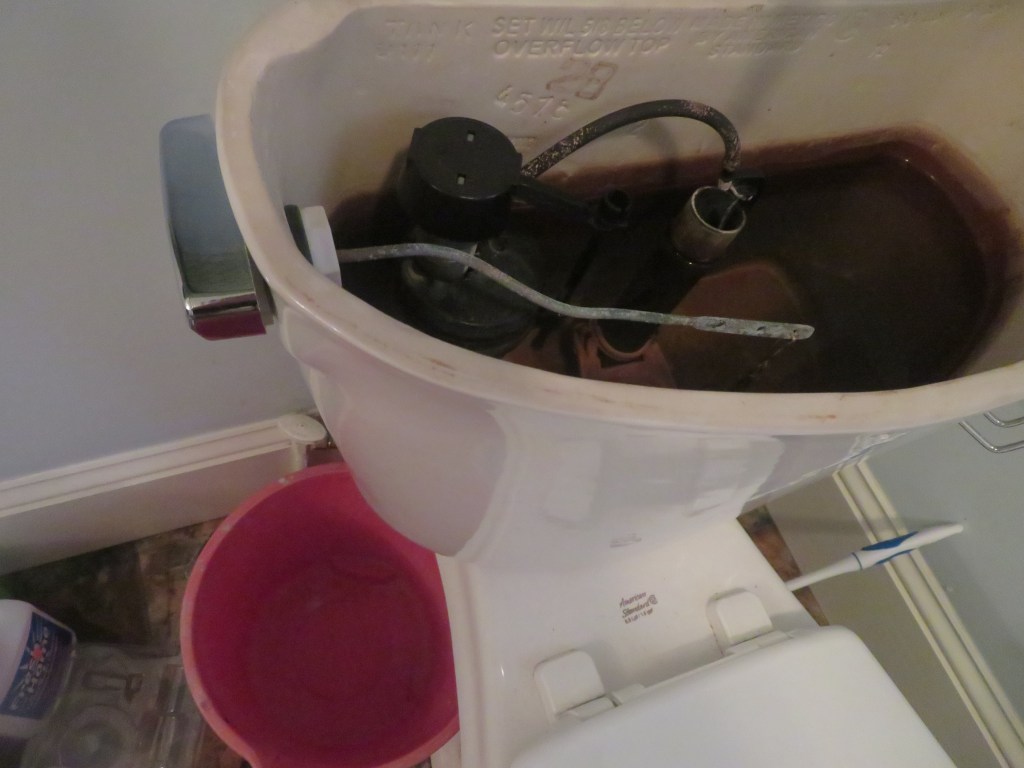
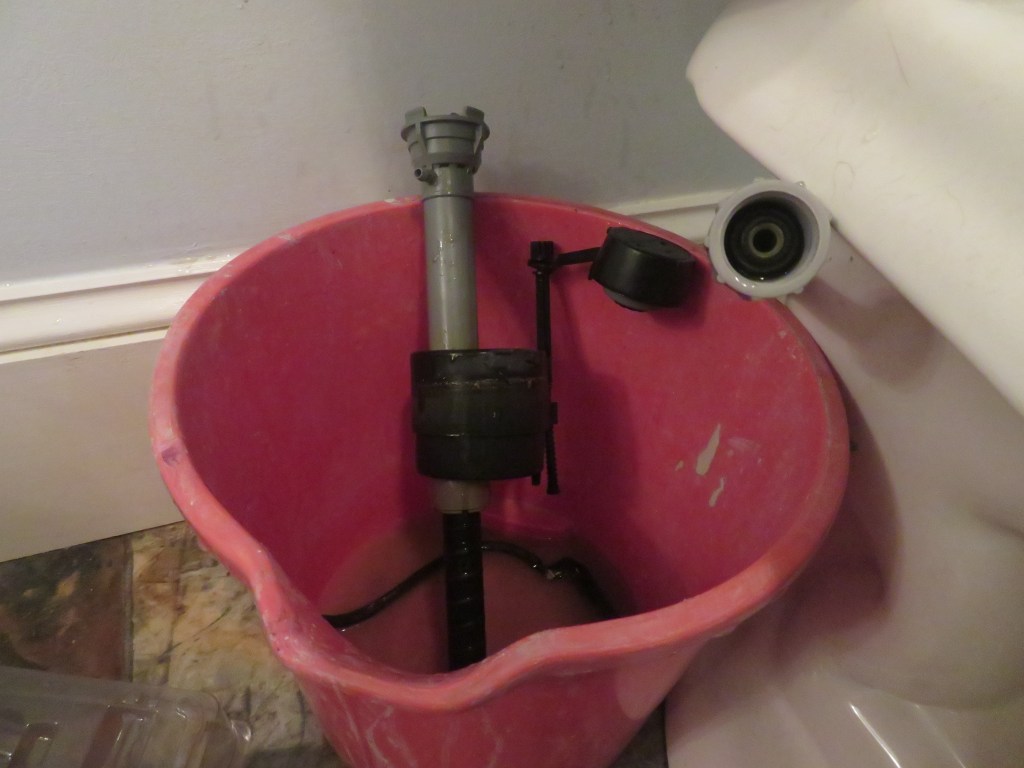
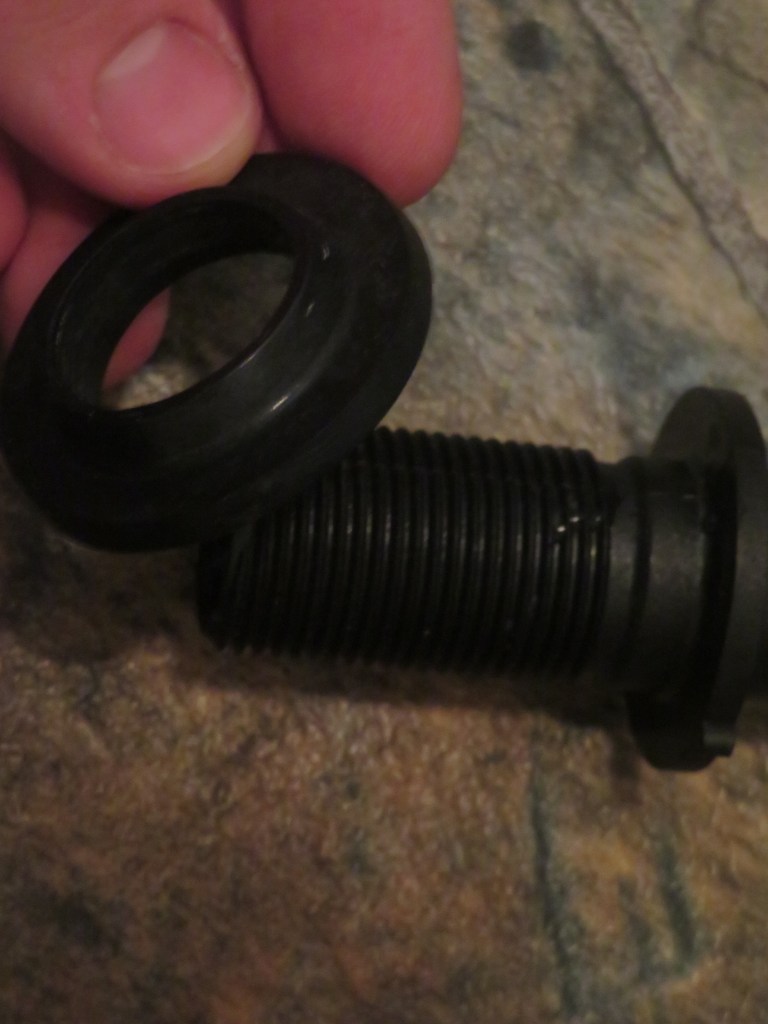
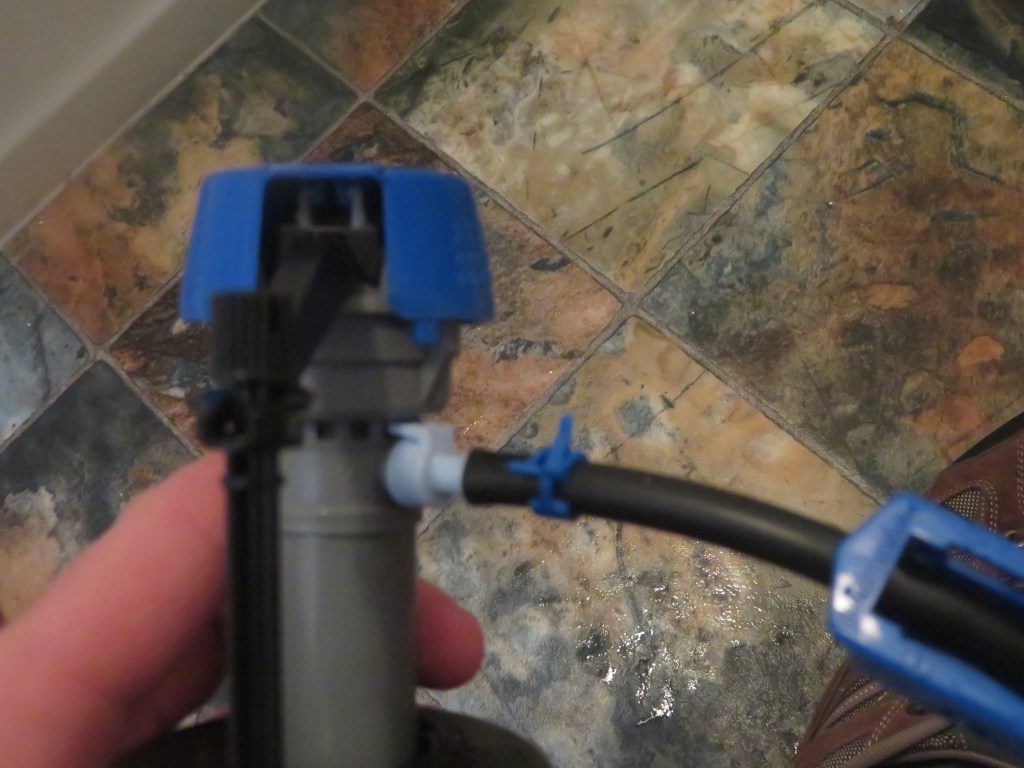
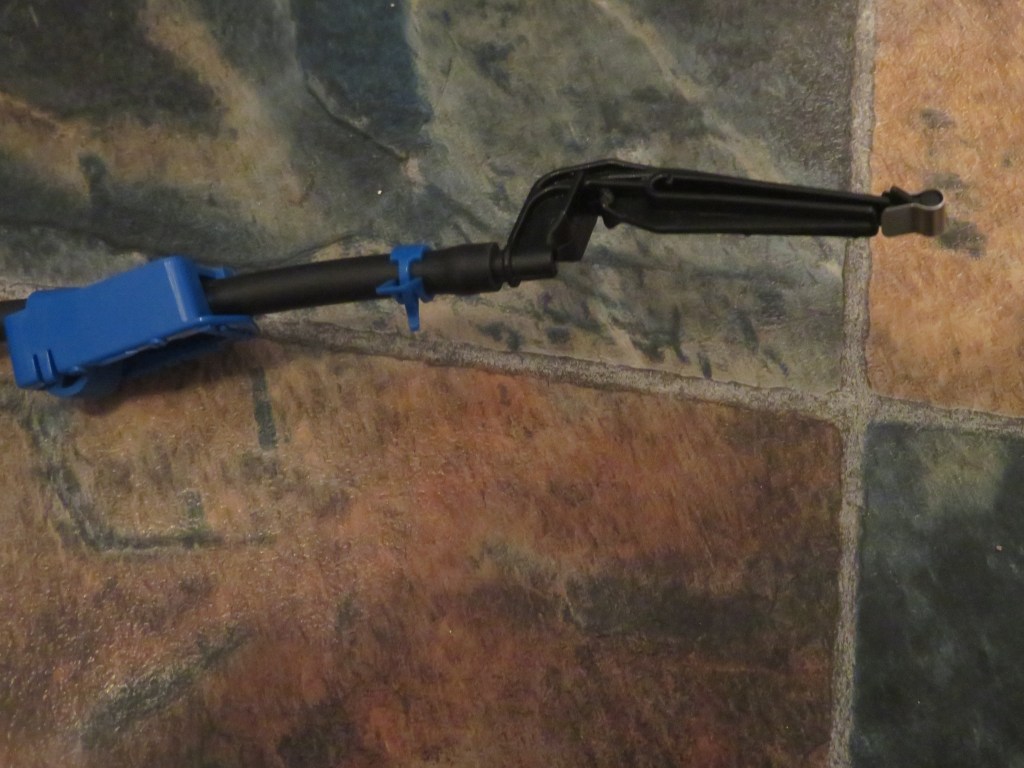
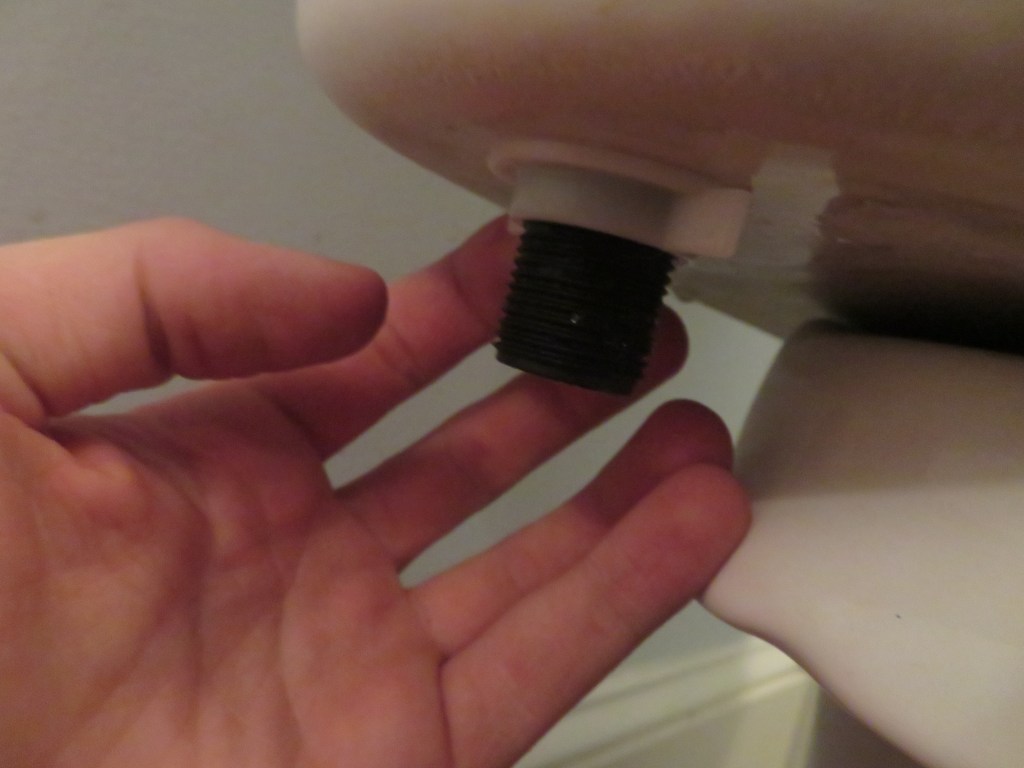
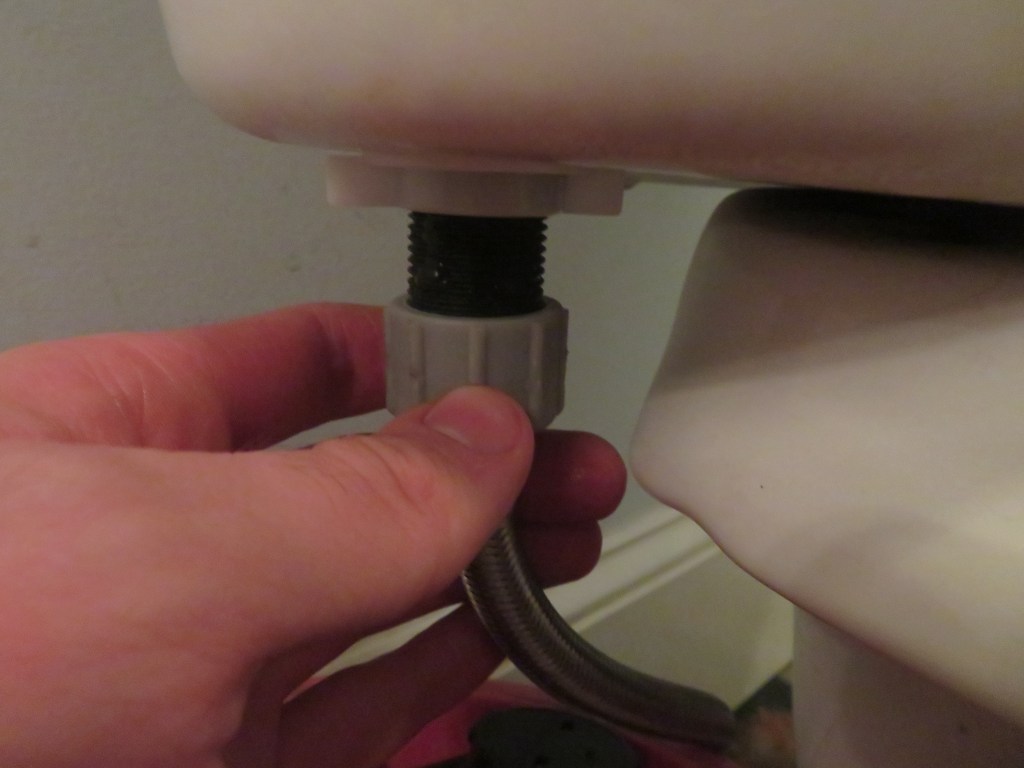
Thought I would mix things up a bit with this for those who are DIY-inclined. If you don’t have a stomach for plumbing then I’d advise skipping the pics.

Here it is in original glory.
The model I chose
Shut off the water by turning to the RIGHT, assuming the original plumber knew what he was doing.
Place a bucket underneath the spot where the valve is connected.
FLUSH the toilet to drain water out of the tank.
You’re left with a mostly-empty tank. This will get fully drained on account of the bucket.
Unscrew the grey piece FIRST.
Now the white nut gets unscrewed (Good for him).
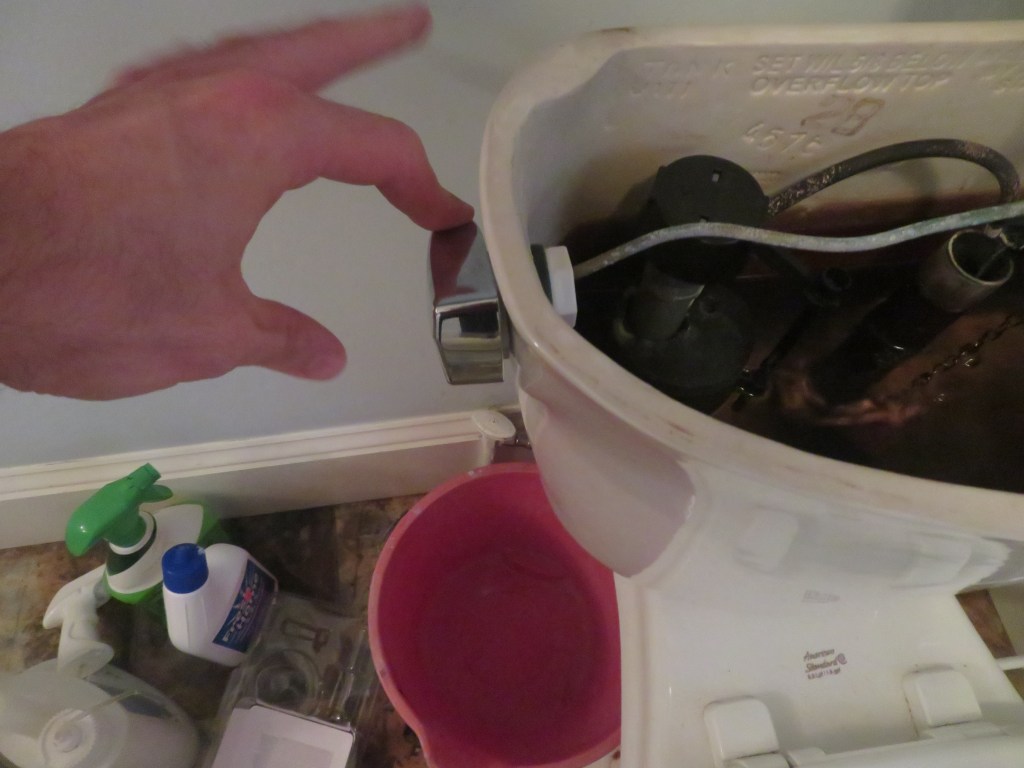
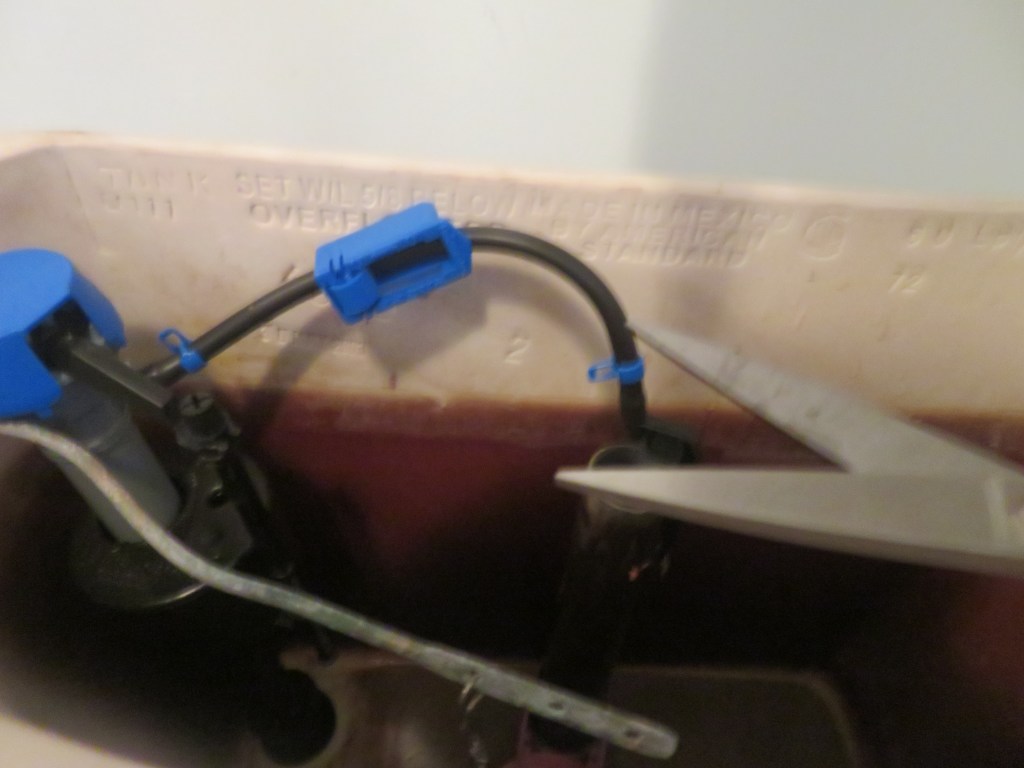
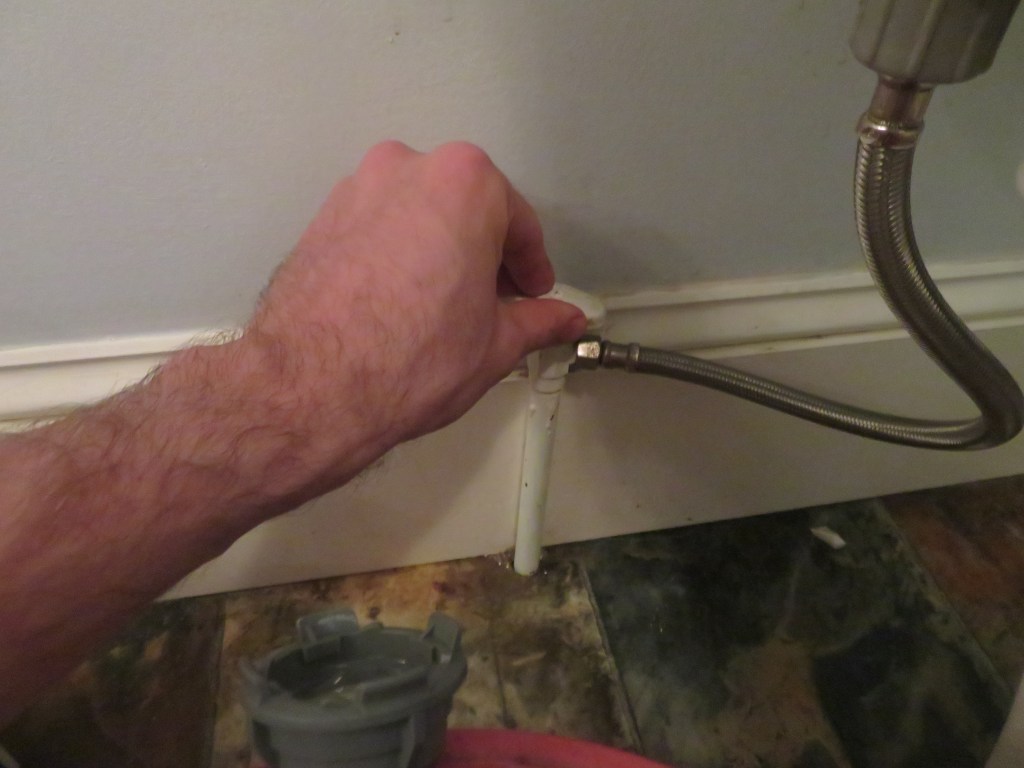
(Expect water to drain out into the bucket at this point).
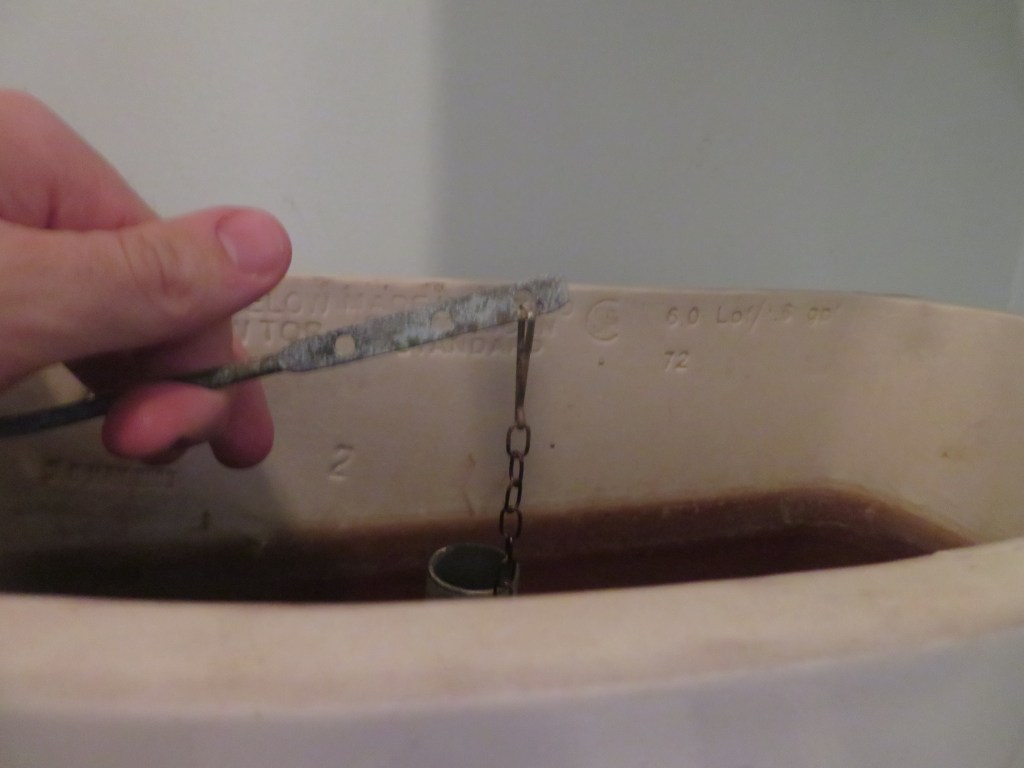
And the old valve comes out easily enough with that step complete.
Next, remove the clip from the lever hole.
The flapper comes off next. You’ll have to unclip it from the hinges on the overflow cylinder.
It’s pretty nasty. This thing was probably over ten years old.
Ahh, the fresh flapper in connected, easily snapping into the hinge piece.
Add the rubber washer to the new flush valve, screwing in so the ring part is pointing down. This will go into the lower tank hole.
One side of the tubing goes into the tower nozzle.
The other end into the clip piece.
Things looking a bit clunky now, but a fix will come.
Quick trim plus gets the tube size down, allowing for smooth install. Also note the clip on the opposite side of the cylinder.
Now put the new nut back in place, screwing till it’s tight, but don’t wrench it on.
Water line goes back in place.
Now you can turn the water back on a take a flush!

Leave a Reply

Please log in using one of these methods to post your comment:

WordPress.com Logo

You are commenting using your WordPress.com account. Log Out /  Change )

Twitter picture

You are commenting using your Twitter account. Log Out /  Change )

Facebook photo

You are commenting using your Facebook account. Log Out /  Change )

Connecting to %s